Connect Two Nail Patterns with One Shared Detail
Compare two nail patterns using a shared base, accent color, scale or boundary, then describe which connection you want to keep in your design.
Leer en español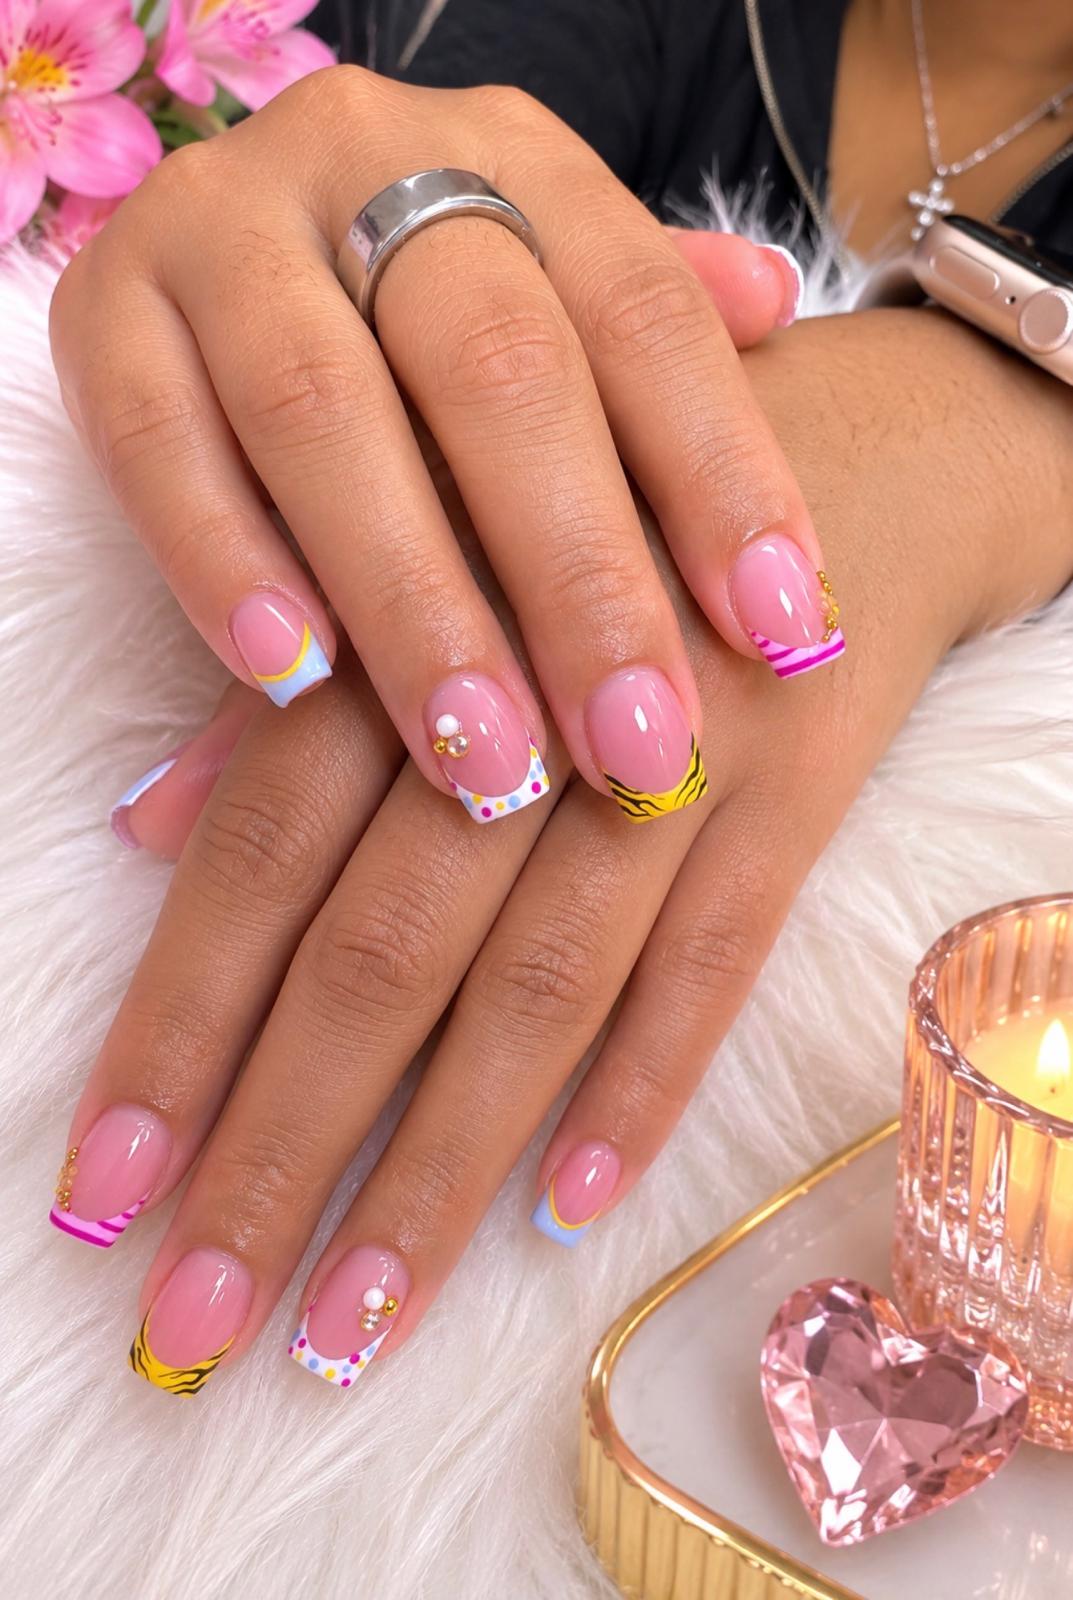
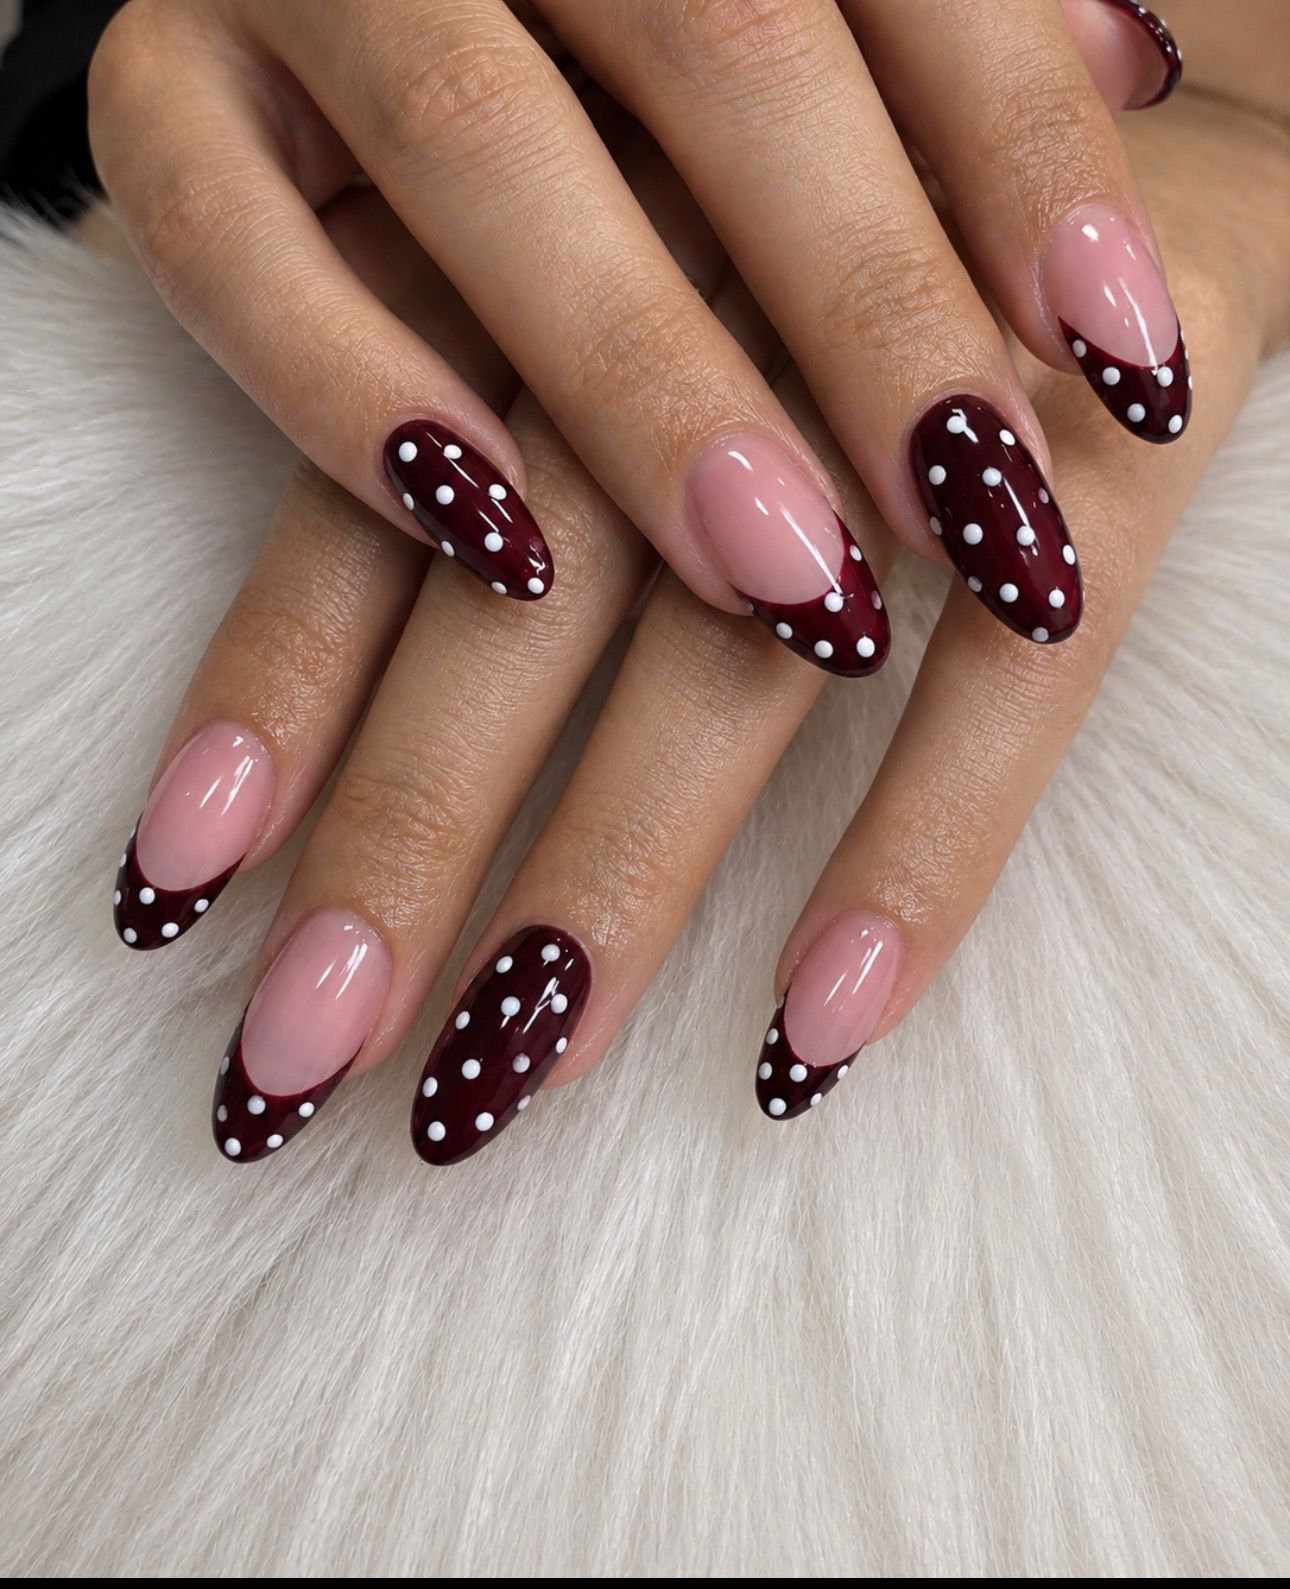
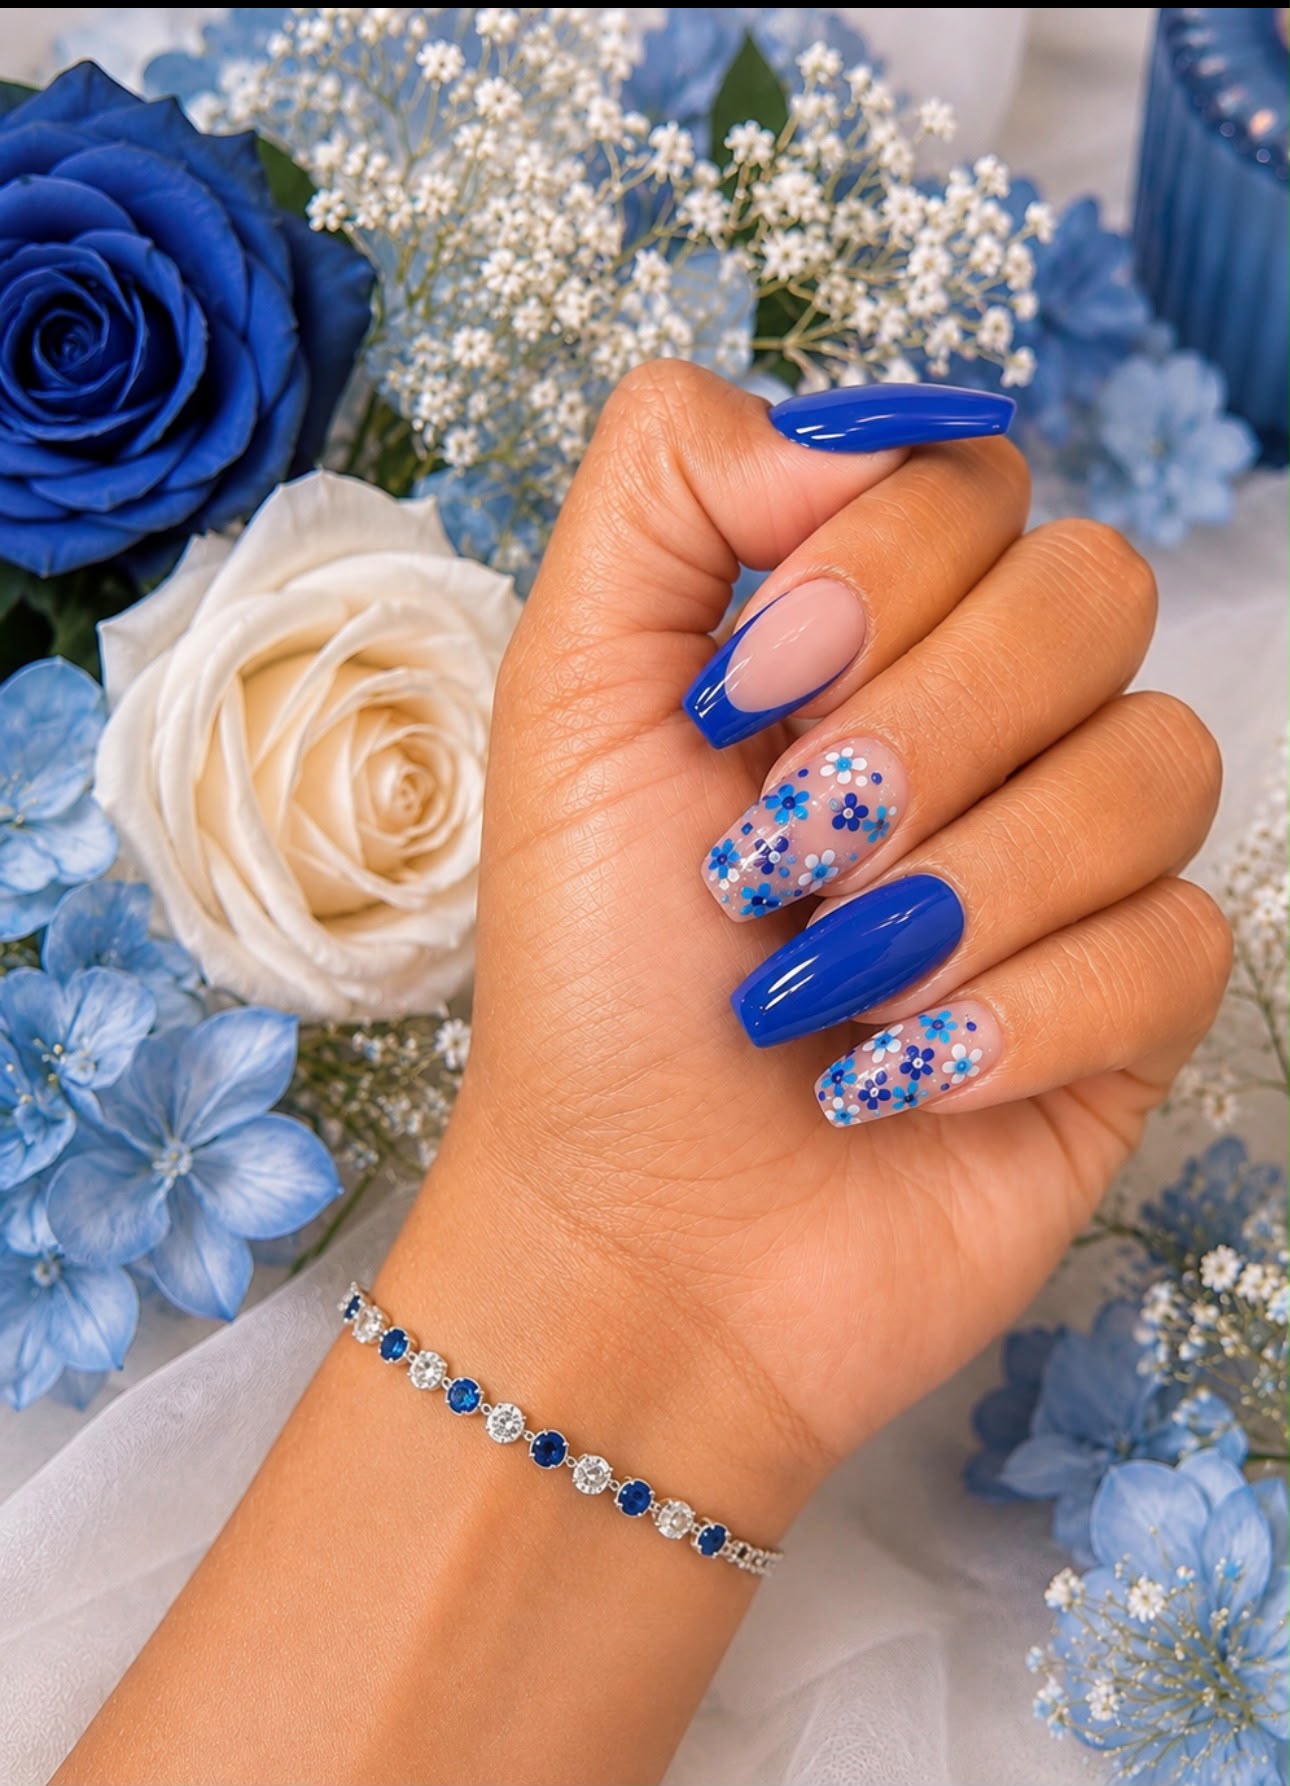
Dots and stripes can both belong in a nail design without needing to become the same pattern. A useful way to explore the combination is to decide what will stay consistent while the marks change. It might be a background color, the size of the details, or the area of the nail where the decoration sits.
Name what you want from each pattern
Choose two references and describe the marks themselves. For example: small, widely spaced dots in one image and narrow curved stripes in another. This keeps “I like both” from becoming a request for every color, border, flower, and accessory visible in the two photographs.
If the distinction is hard to describe, sketch only the dots and stripes in two boxes on paper. At this stage, you are comparing patterns rather than assigning them to fingers.
Choose one shared feature
Try one connection at a time:
- A shared base: keep the background pink while the dots and stripes use different accent colors.
- A shared accent: repeat the same blue in both patterns while leaving their marks different.
- A similar scale: compare small dots with fine lines before trying small dots beside very broad stripes.
- A shared boundary: place both patterns within a tip area instead of filling one nail completely and leaving the other mostly plain.
These are optional design exercises. You do not need to match every feature, and a deliberate contrast may be exactly what you prefer.
Keep two alternatives beside each other
Make one version with a shared base and another with a shared accent color. Keep the pattern shapes unchanged so you can tell what the connection contributes. Choose the version you enjoy looking at, then write which feature you want preserved.
The YLG cover photograph includes colorful tips with dots and striped marks over pink bases. That repeated pink area is one visible connection you can point to. The photograph contains additional details too; it is not an exact illustration of a two-pattern-only proposal.
Decide what to leave out
Before adding a third pattern, review the pair by itself. You might prefer to omit extra borders or decorations so the two selected patterns remain easy to recognize. Alternatively, keep a bold combination and identify that contrast as intentional.
A concise request could be: “I want dots on one accent and curved stripes on another. Keep the pink base common to both. Please discuss the size of the marks with me before adding other details.” This describes a visual preference, not an application method or a promise of availability.
Once the pair is chosen, use a ten-finger placement map to decide where it belongs. Check the YLG service catalog, confirm the booking option for your idea, and reserve your visit.