Map Your Nail Accents Across All Ten Fingers
Plan focal, supporting, and quieter nails with a ten-finger placement map that makes color repetition and accent choices easy to explain.
Leer en español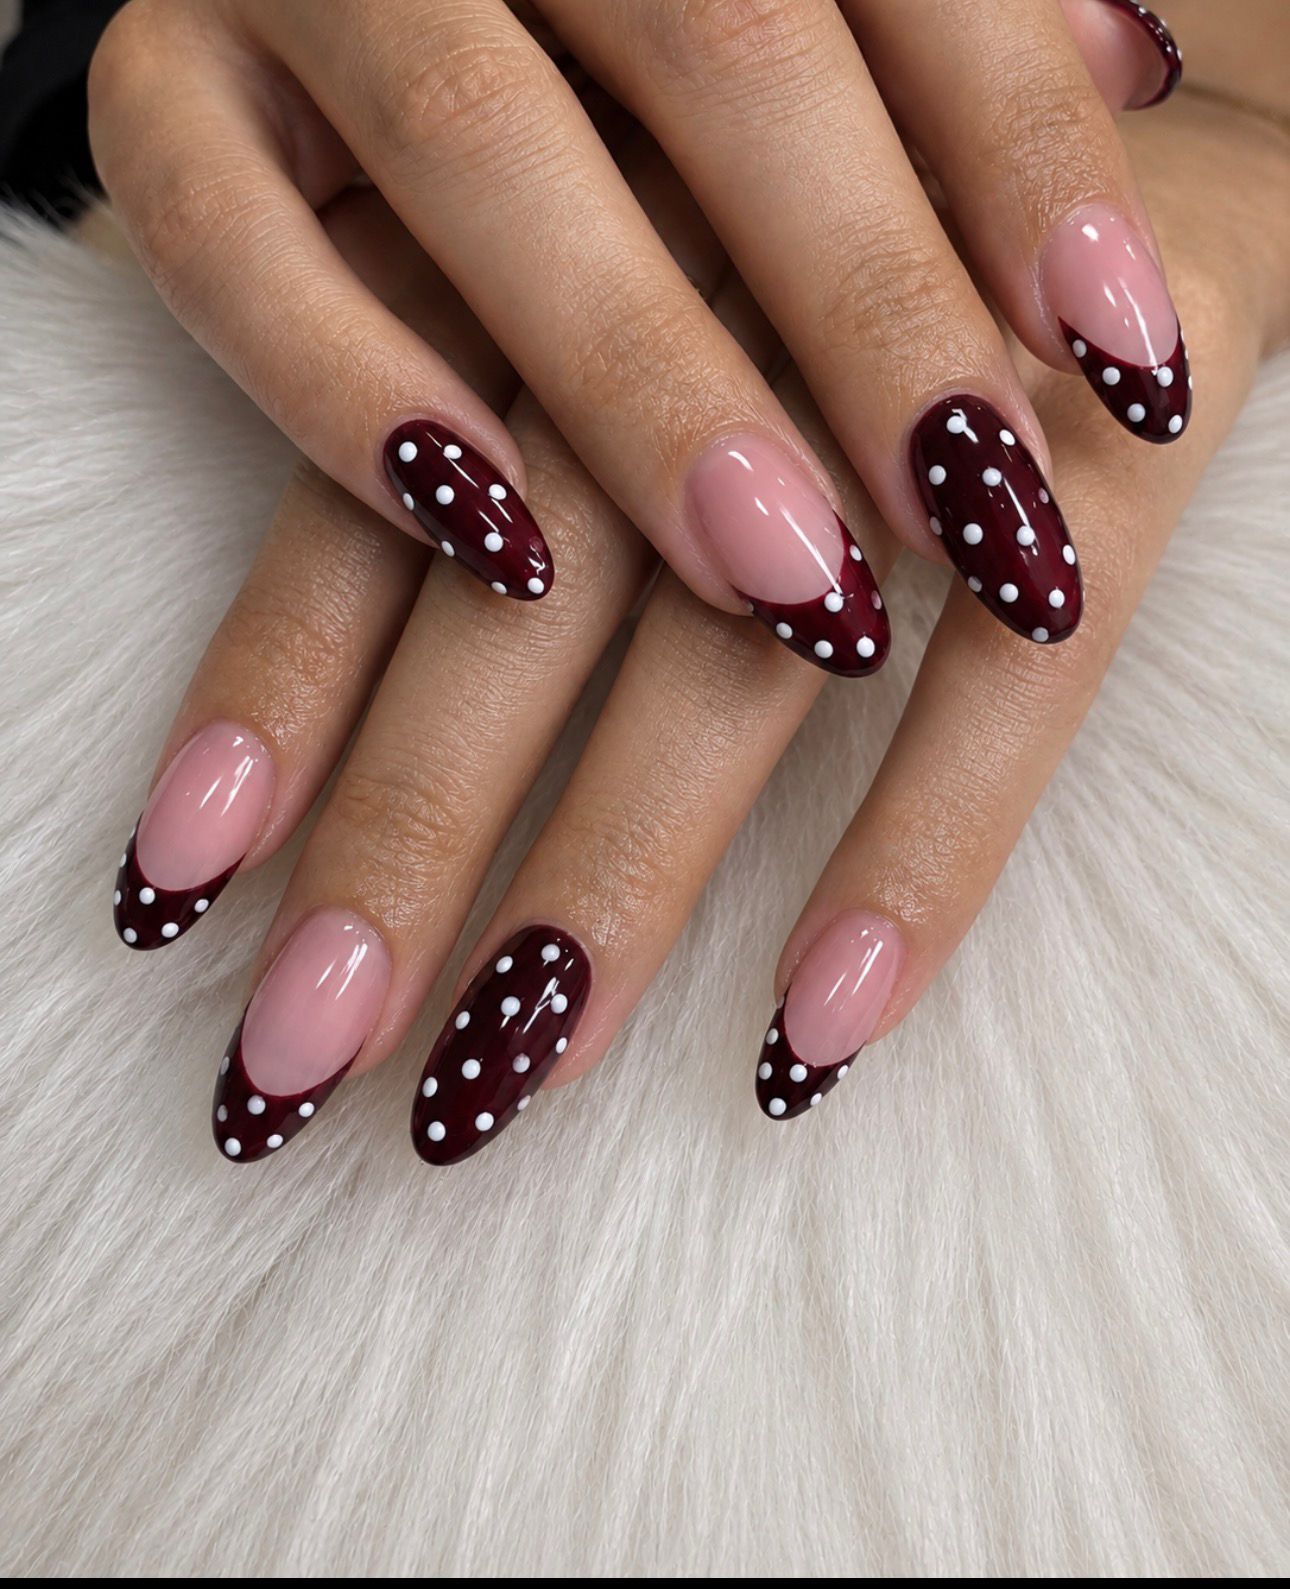
Choosing a motif is only part of designing a manicure. The same dots, flowers, or colored tips can feel very different depending on where they sit across the ten nails. A simple placement map lets you decide where the eye should go, which details should repeat, and where the design should have quieter areas.
Start with three visual roles
Think of the set as a small composition. A focal nail carries the strongest detail. A supporting nail repeats part of the idea with less emphasis. A quiet nail provides a simpler area beside them. These are planning labels, not service categories or rules about how many accents you should have.
Choose the focal point first. Then decide what the supporting nails will repeat: a color, a dot, a curve, or a smaller version of the motif. If every nail receives an unrelated feature, it becomes harder to tell which idea is meant to lead.
Draw ten spaces and label the hands
Two rows of five small boxes are enough. Label them “my left hand” and “my right hand,” then name each finger. Use your own perspective, not the view of someone facing you. This avoids a common ambiguity when a screenshot is mirrored or a photo shows overlapping hands.
Write words inside the boxes rather than trying to make a polished drawing. “Burgundy with dots” is more useful than an unclear miniature sketch. If a detail needs to face a particular way, add a short arrow and explain what it means.
An example with dots and colored tips
For a burgundy, pink, and white-dot idea, you could propose the following map. It uses the same palette throughout, with full-color nails carrying more visual weight than the tips.
- Left thumb: pink with a burgundy tip and a few white dots.
- Left index: solid burgundy with white dots, the focal nail.
- Left middle: pink with a plain burgundy tip.
- Left ring: pink with a burgundy tip and a few white dots.
- Left little finger: plain burgundy.
- Right hand: repeat those finger assignments for a mirrored plan.
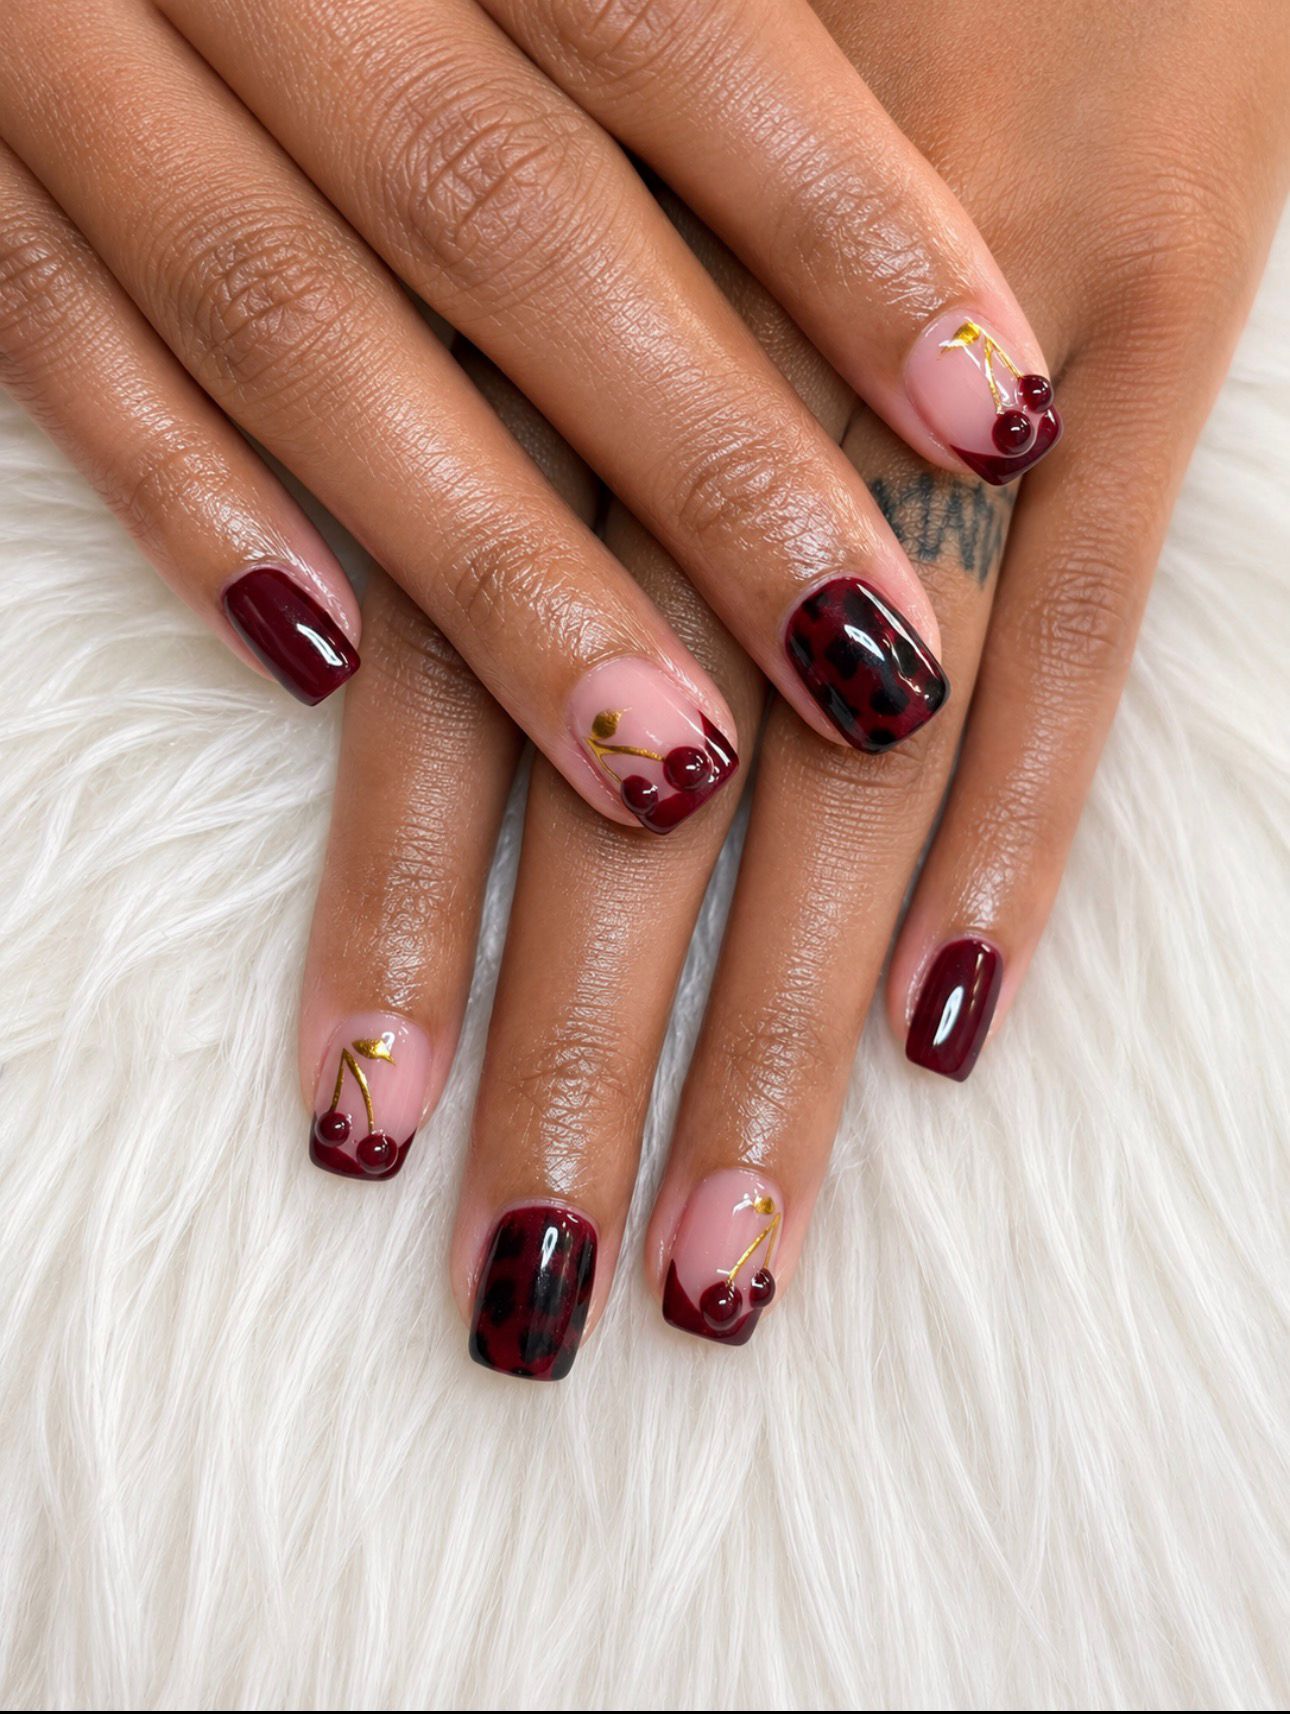
That final line accounts for all five right-hand nails. If you want a different arrangement there, write each assignment separately. The map is an original example to discuss, not a description of every nail in the cover photograph.
Choose repetition or a deliberate difference
Matching finger assignments can make the plan easy to follow. An offset plan can also be intentional: move the strongest detail from the left index to the right ring finger, for example. Keep a shared color or repeated mark so the hands still belong to the same idea.
Before committing, place the two rows beside each other. If one hand has most of the dark areas or most of the decoration, decide whether you like that difference. There is no required balance; the useful step is noticing it before the work begins.
Review the whole map
- Count ten assigned nails, including both thumbs.
- Identify the strongest detail on each hand.
- Check which color or mark connects the set.
- Mark any placement that is flexible.
- Discuss scale and execution with the technician.
Browse the YLG home gallery for placement references, then confirm your proposed design with the salon when using the booking page. A planning map does not establish design availability.
Service source: The current YLG service catalog supplies service information.