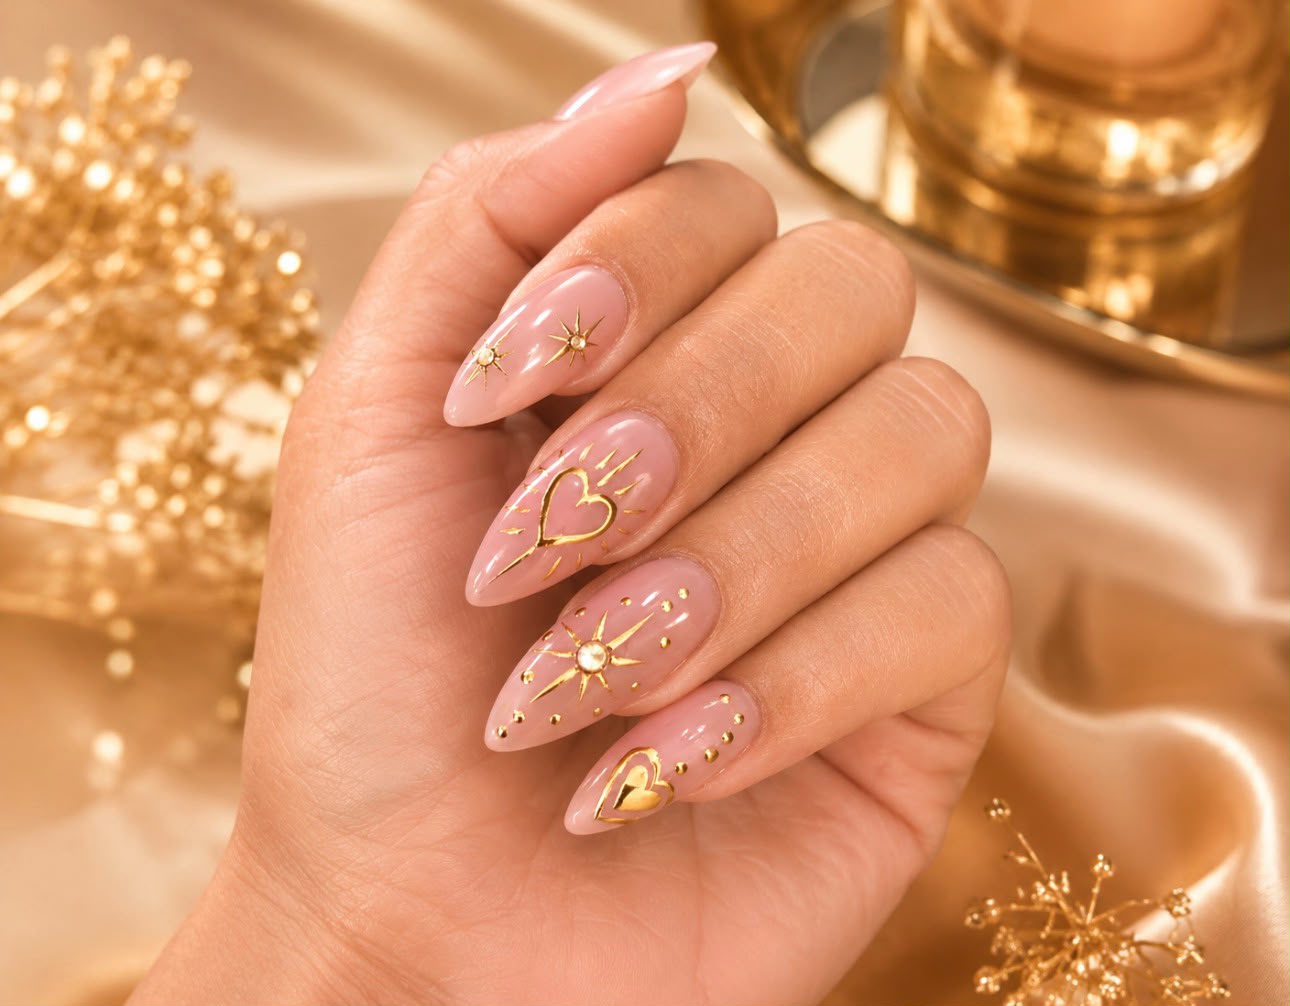
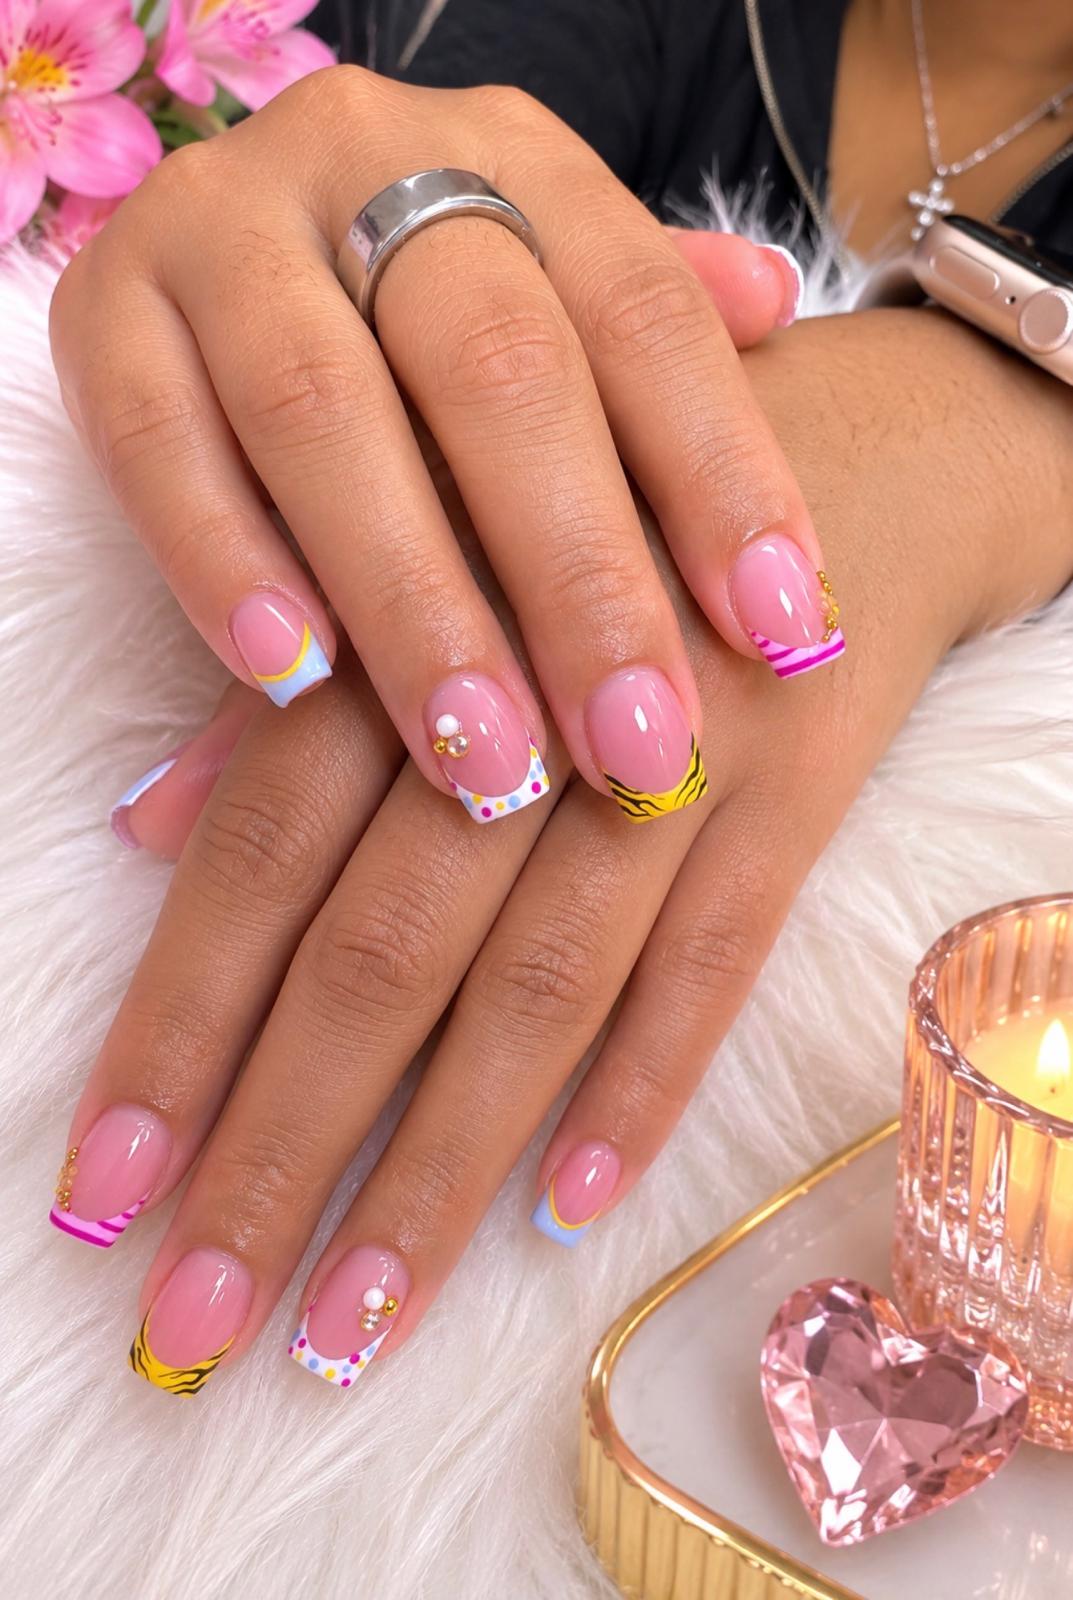
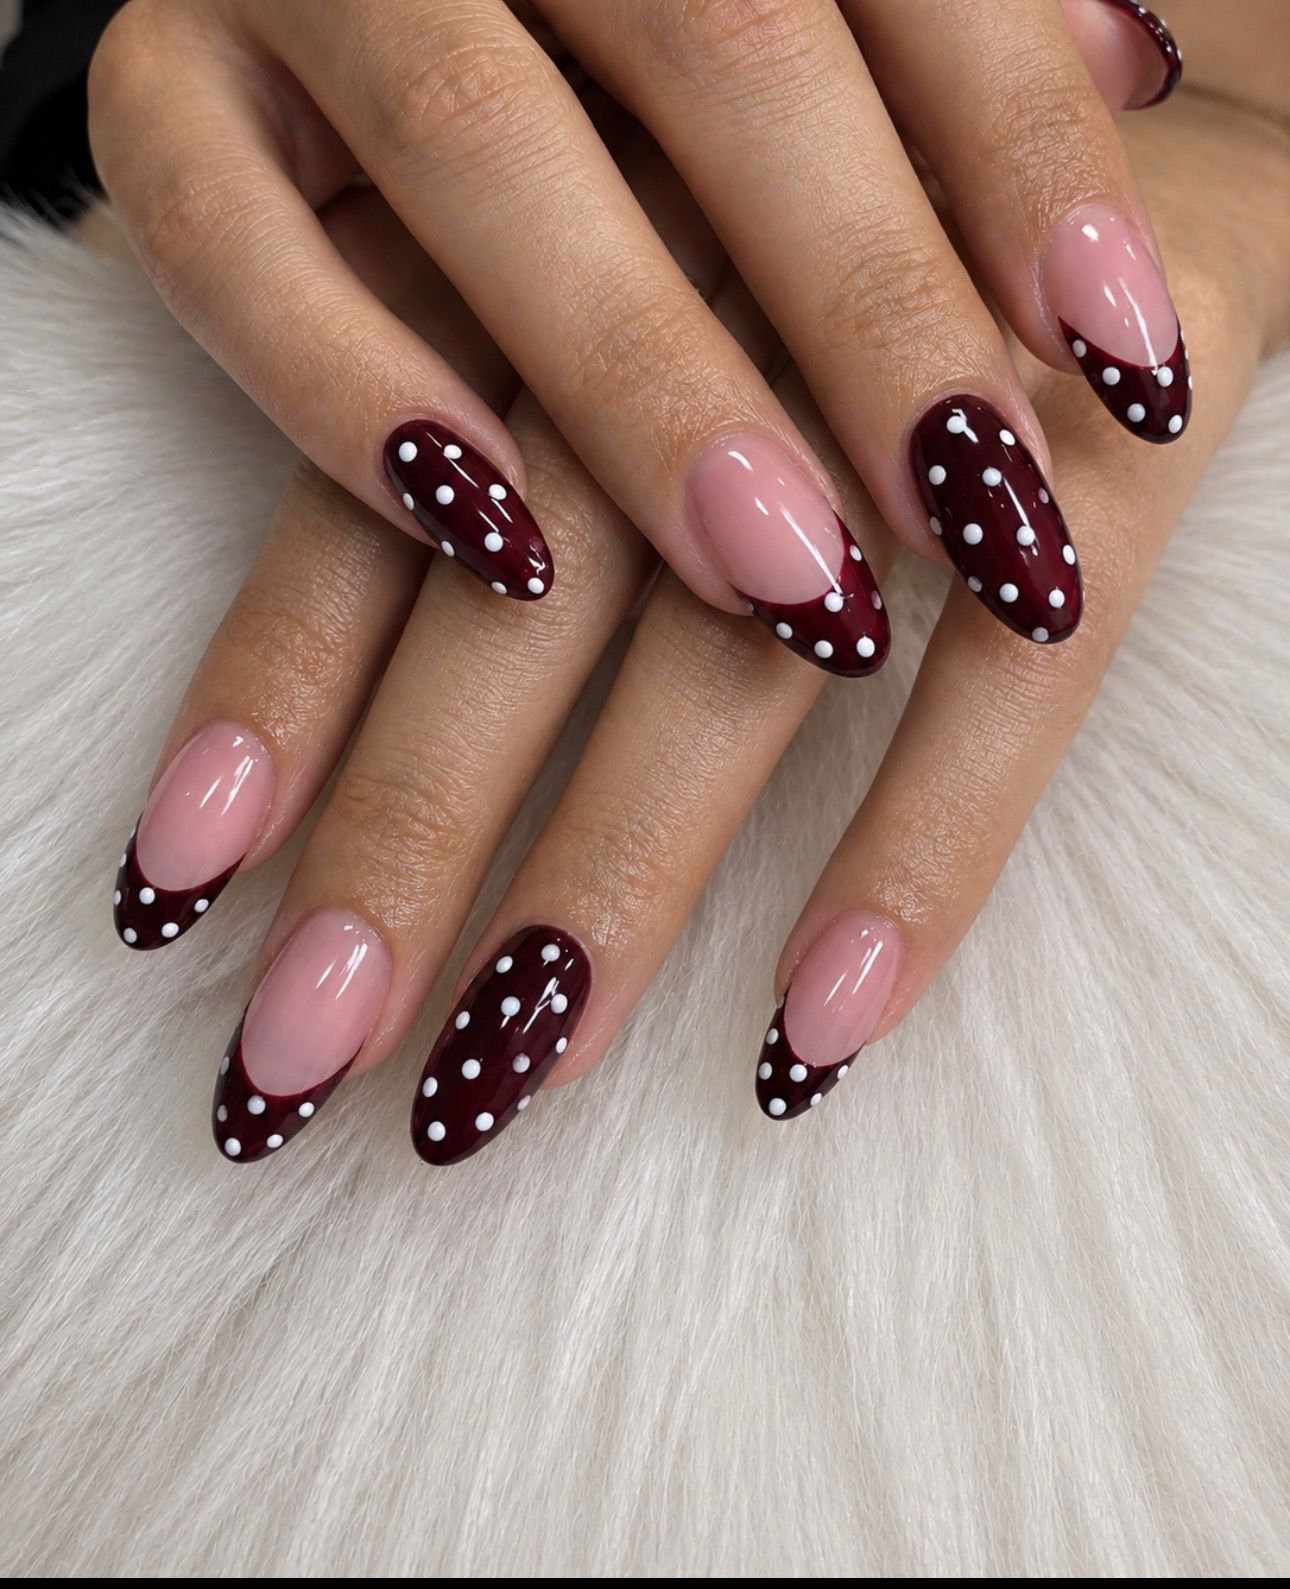
Plan Nail-Art Placement for the Close-Up Photo You Want
Use a rough photo composition to discuss which nails will show, where a focal motif could sit, and what references to share with the technician.
Leer en español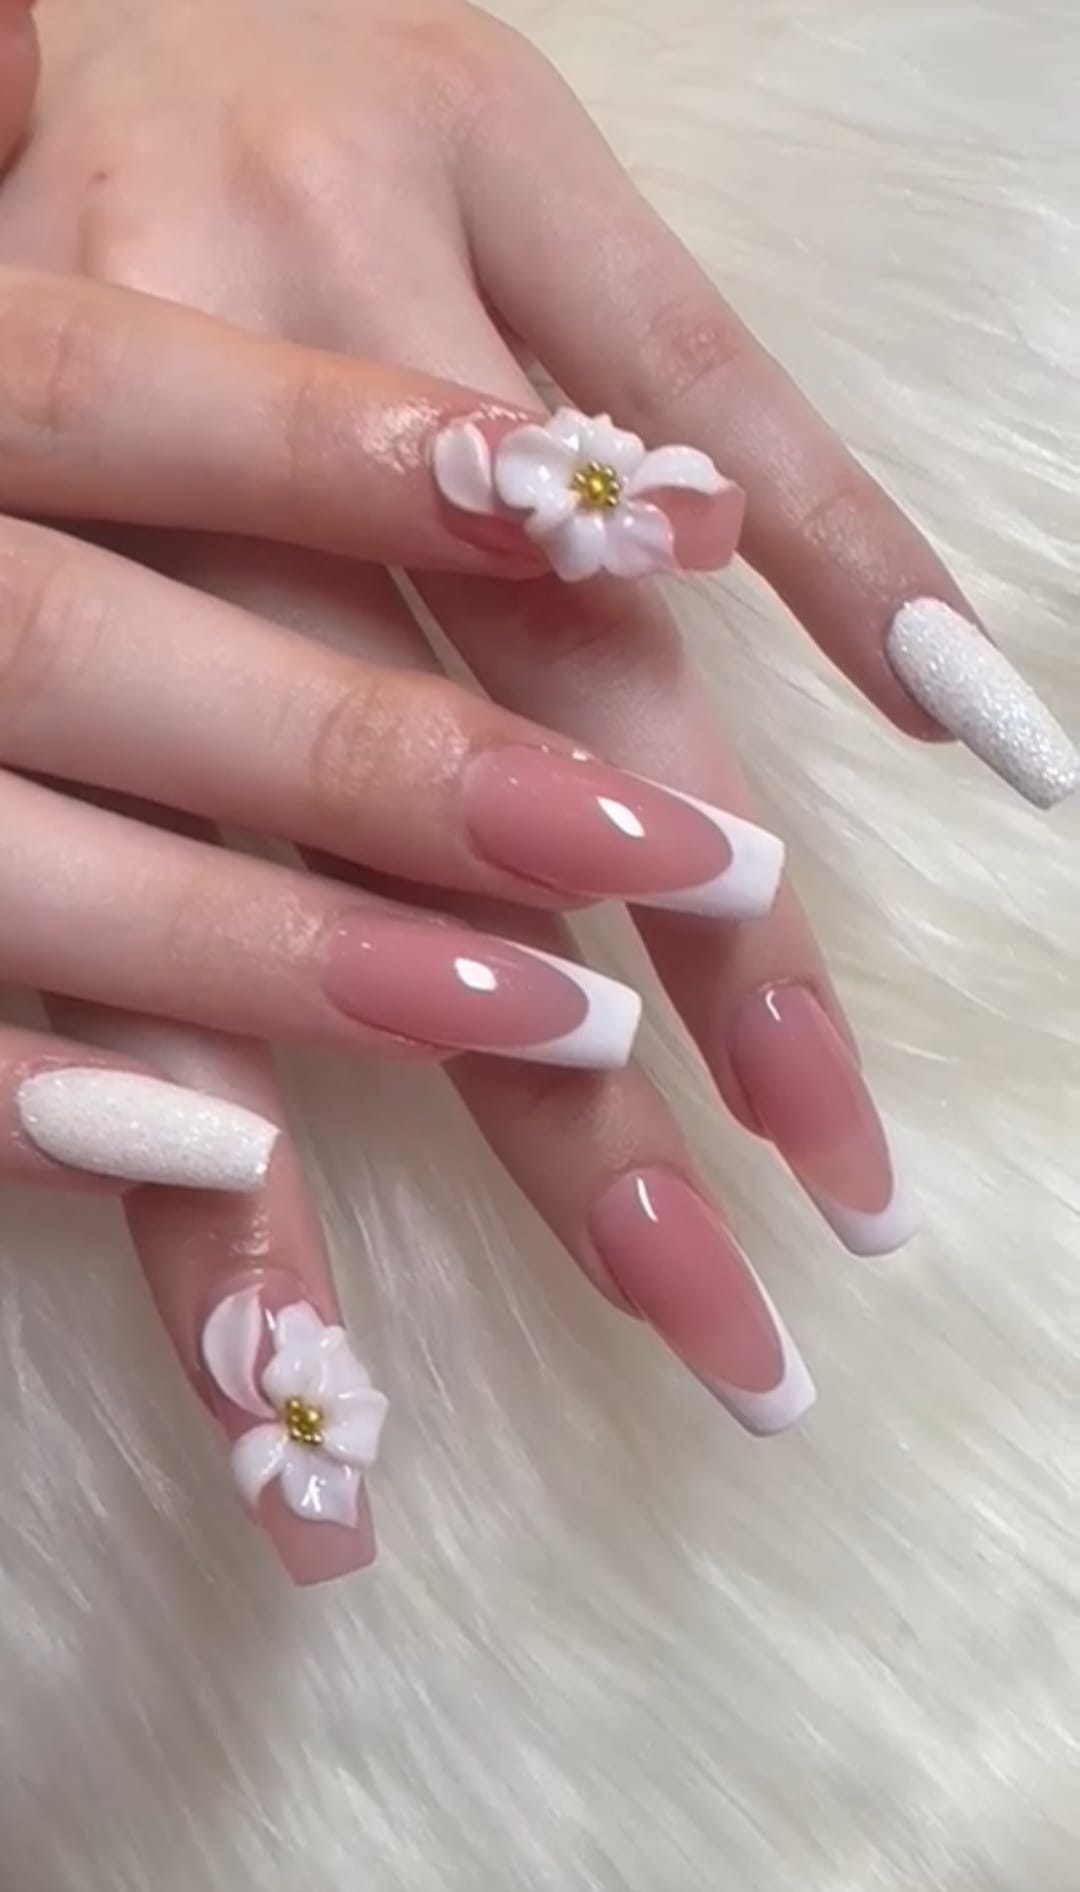
If you want a close-up photograph of your manicure, begin with the picture you hope to make. A full view of both hands, a portrait of one hand holding an object, and a close view of a single motif each show different parts of a design. Sharing that intention with the technician helps make placement part of the discussion.
Decide what the photograph should explain
Choose one main purpose. Do you want to show the complete set, a small flower, a color combination, or how the nails sit beside a ring? Write a sentence such as, “I want the photo to show the flower clearly while keeping the other nails in the frame.” This is more specific than asking for a manicure that photographs well.
The photo plan does not need to dictate the entire design. It simply identifies which visual details matter most in the image you have in mind.
Use a rough framing reference
Take a quick picture of your hand in the intended position before the appointment. If you plan to hold a card, a small bag, or a bouquet, include that object or something of similar size. The test can show which fingers are visible and which are tucked behind the object.
Keep a version that shows the whole hand. A tight crop alone may hide the finger positions that explain your request. Mark the area where you expect the principal motif to appear, and say that the placement is open to discussion.
Plan for the visible part of the set
Imagine a photograph of one hand holding a small dark clutch. In your test pose, the index and middle nails are most visible, while the thumb is largely hidden. If your main interest is a white floral detail, one proposal is to place it where the pose can show it, with simpler light tips on the surrounding visible nails.
This is an original composition example, not a guarantee about a particular design or a description of the cover photo. Ask the technician how the motif could fit your actual nail area. Also decide whether you like the arrangement when your hand is relaxed, outside the planned photograph.
Keep the design reference separate from the photo mood
A dramatic inspiration image may owe part of its appeal to a dark background, warm lighting, or a close crop. Tell the technician which part is the nail design and which part is the mood of the photograph. Show an unedited reference when possible, especially if the exact color relationship matters to you.
For your finished photo, try a plain background first so you can judge the details without competing patterns. Compare a whole-hand view with a closer view. Reflections may cover part of a motif in one angle, so check the image and adjust the hand position if needed. These steps help document the design; they do not promise identical color across cameras or screens.
A short conversation checklist
- Explain what the photo should show most clearly.
- Bring a rough hand-position reference.
- Identify which nails are visible in that pose.
- Discuss the main motif's scale, placement, and orientation.
- Check that you also like the complete set in a relaxed position.
Use the YLG home gallery to explore visual references. Confirm the proposed execution with the salon when arranging your visit through the booking page.
Service source: Consult the current YLG service catalog for service information.